The ratio is the whole build
Balancing drill output against furnace smelting speed determines whether the production line functions. Too many drills cause raw ore to back up along conveyors, while too few leave the furnace idling between drops.
| Furnace speed | Feeding drills | Smelting performance |
|---|---|---|
| 7% faster furnace | 5 tier-one iron drills + 1 tier-one coal drill | Continuous smelting with minimal conveyor backpressure |
| 18% faster furnace | 2 tier-two iron drills + 3 tier-one iron drills + 1 coal drill | High-volume ore conversion matching upgraded furnace speed |
Two builds, two budgets
The 7% configuration requires only tier-one drills, which makes initial budgeting straightforward. Tier-one iron drills cost 45,000 coins each in the recording.
The 18% configuration requires heavy capital investment. In the recorded layout, using two tier-two drills per unit totals 84 tier-two drills, which the creator calculates as equivalent to 672 tier-one drills, or roughly 30 million coins. Prices for tier-two drills, coal drills, and furnaces were not read in the material.
The 250 figure
Watch out. In that recorded build, the creator could not place another drill after reaching 250 units. Whether this 250 figure is a game-wide drill cap, an island machine ceiling, or specific to that configuration was not confirmed in the material. Plan factory wings conservatively to avoid reaching placement blocks mid-build.
Placement order
- Place the smelting furnaces first. Setting the smelter establishes fixed conveyor targets before you install heavy extractors.
- Position tier-two iron drills on the inner belt spaces closest to the furnace intake.
- Install tier-one iron drills on the remaining input positions along the feeder lines.
- Mount the coal drill at the outer end of each wing so fuel feeds directly behind ore.
- Direct exit conveyors into a central storage chest and provide overflow space. You know the line works when ore smelts into ingots without backing up on belts.
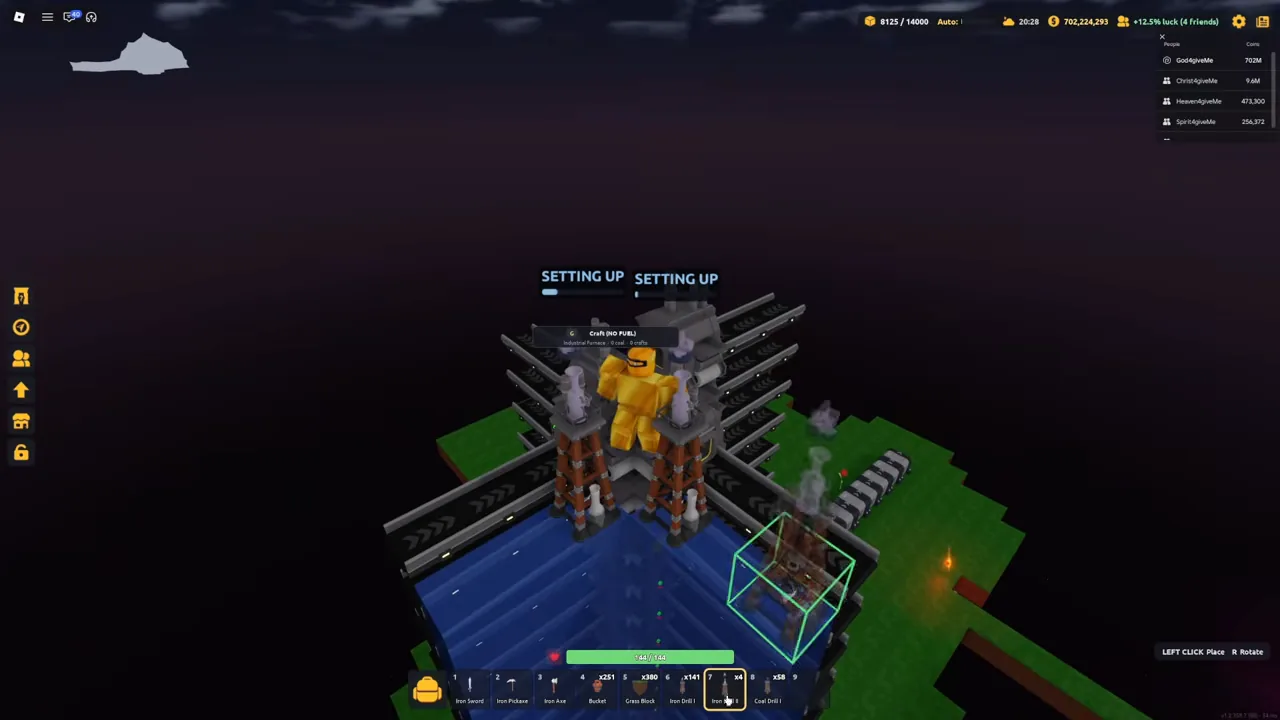
The next frame shows a finished furnace row with the drill line running along the belt side, and a coal drill selected in the hotbar. Use it to read where the drills sit relative to the furnace, not to count your own layer.
Iron is not the money line
The creator notes that iron mining is designed to produce structural materials like gears for factory machines, rather than functioning as your primary coin generator. That evaluation represents the video creator's judgment rather than an official game ranking.
Calculate your machinery needs using the iron factory planner before buying drills, and review the money guide to decide how much island space to commit to smelting.